How to Mix Clear Coat
As a professional automotive paint manufacturer, we understand the importance of achieving a flawless finish in automotive painting projects. One crucial step in this process is mixing clear coat correctly. In this guide, we will walk you through the steps involved in mixing clear coat for optimal results.
Understanding Clear Coat
Clear coat, also known as automotive urethane clear coat, is a transparent layer applied over the base coat of paint to protect it and give the vehicle a glossy appearance. It provides durability and UV protection while enhancing the color and depth of the paint.
Importance of Proper Mixing
Properly mixing clear coat is essential for achieving a smooth and even finish. Incorrect mixing ratios can result in issues such as uneven texture, orange peel effect, or poor adhesion. Following the manufacturer's instructions and using precise measurements are key to success.
Steps to Mix Clear Coat
1.Gather Materials:
·Clear coat paint
·Hardener or catalyst
·Reducer (if required)
·Mixing cups or containers
·Stir sticks
·Measuring tools (graduated cups or scales)
2.Read Manufacturer's Instructions:
Before starting, carefully read the instructions provided by the clear coat manufacturer. Pay attention to the recommended mixing ratios, as they may vary depending on the brand and type of clear coat.
3.Prepare Mixing Area:
Choose a well-ventilated area with proper lighting for mixing the clear coat. Ensure that the workspace is clean and free from dust or debris, as any contaminants can affect the quality of the paint finish.
4.Measure Clear Coat:
Use a graduated mixing cup or scale to measure the desired amount of clear coat according to the manufacturer's instructions. Pour the clear coat into a clean mixing container.
5.Add Hardener:
Add the appropriate amount of hardener or catalyst to the clear coat, following the recommended mixing ratio. It is crucial to measure the hardener accurately to ensure proper curing and durability of the clear coat.
6.Mix Thoroughly:
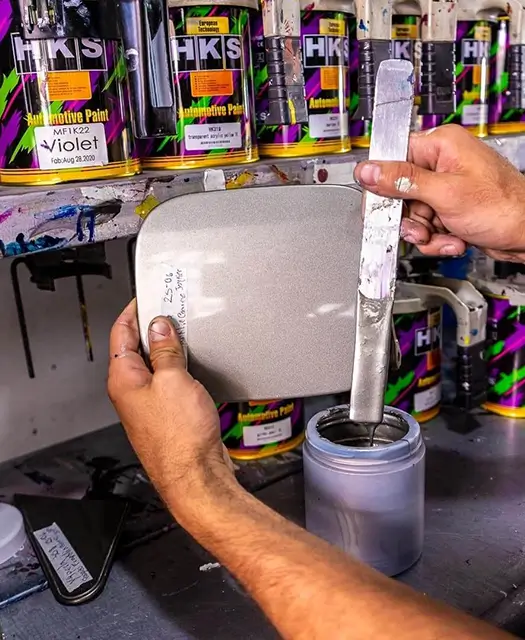
Use a clean stir stick to thoroughly mix the clear coat and hardener together. Stir in a gentle, circular motion, ensuring that the components are fully incorporated. Avoid vigorous stirring, as it can introduce air bubbles into the mixture.
7.Check Consistency:
After mixing, check the consistency of the clear coat. It should have a uniform appearance and smooth texture. If necessary, adjust the viscosity by adding a small amount of reducer according to the manufacturer's recommendations.
8.Strain the Mixture:
To remove any impurities or particles, strain the mixed clear coat through a paint strainer or mesh filter before pouring it into the spray gun.
9.Test Spray:
Before applying the clear coat to the vehicle, perform a test spray on a small, inconspicuous area to ensure proper atomization and coverage. Adjust the spray gun settings if needed.
Conclusion
Properly mixing clear coat is essential for achieving professional results in automotive painting projects. By following the steps outlined in this guide and adhering to the manufacturer's instructions, you can ensure a flawless finish that enhances the appearance and durability of the vehicle. If you are interested in becoming a distributor or have any inquiries, please contact us through our website, and we will respond within 24 hours.
Remember, precision and attention to detail are key when it comes to automotive painting, and using high-quality materials is essential for achieving lasting results.
Source of this article:https://www.supersybon.com
Get to know us through more channels:


