How to Bondo Car
Welcome to SYBON's comprehensive guide on how to effectively use Bondo to repair and restore your car. As a professional Bondo manufacturer, we understand the importance of achieving seamless repairs and impeccable finishes. In this guide, we will walk you through the step-by-step process of using Bondo to restore your car's beauty and structural integrity.
Understanding Bondo
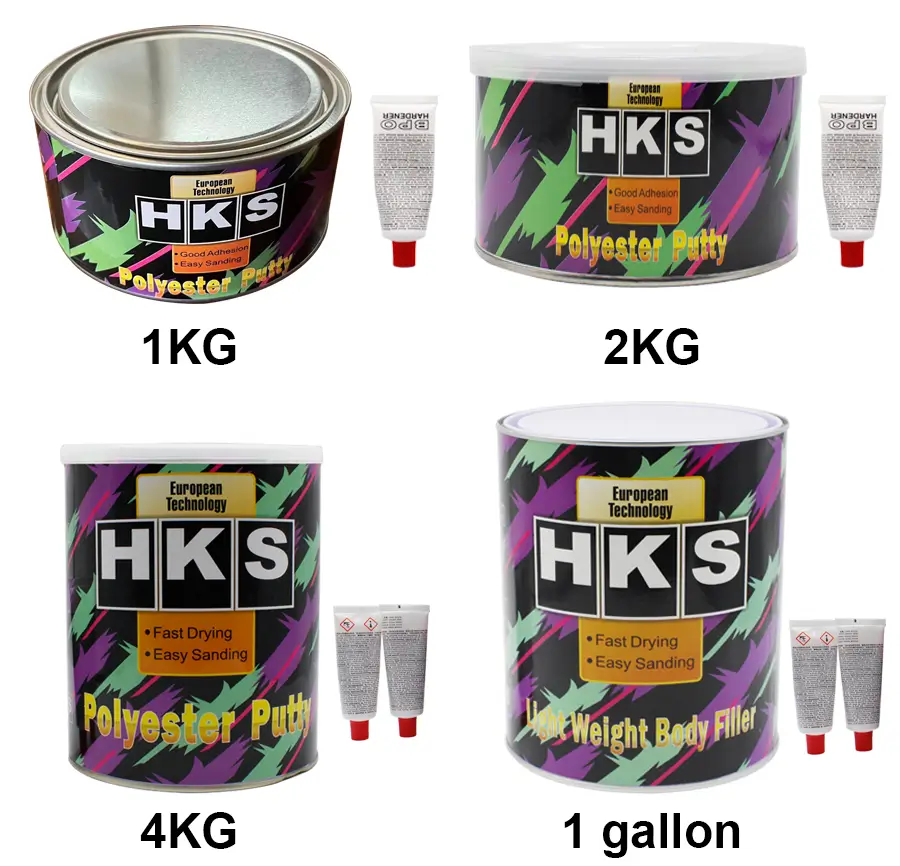
Before we delve into the application process, it's essential to understand what Bondo is and how it works. Bondo, also known as body filler, is a two-part putty-like substance used for repairing dents, dings, and other imperfections in automotive surfaces. It consists of a resin and a hardener that, when mixed together, create a durable and moldable material ideal for automotive repair.
Preparation
Proper preparation is crucial for achieving professional results when using Bondo. Here's what you'll need to do:
1.Clean the damaged area thoroughly to remove any dirt, grease, or rust.
2.Use sandpaper to roughen the surface around the damaged area, creating a better bond for the Bondo.
3.Mask off the surrounding area with painter's tape to prevent accidental overspills.
4.Wear safety gear, including gloves and a respirator, to protect yourself from Bondo fumes and dust.
Mixing Bondo
Now that you've prepared the surface, it's time to mix the Bondo:
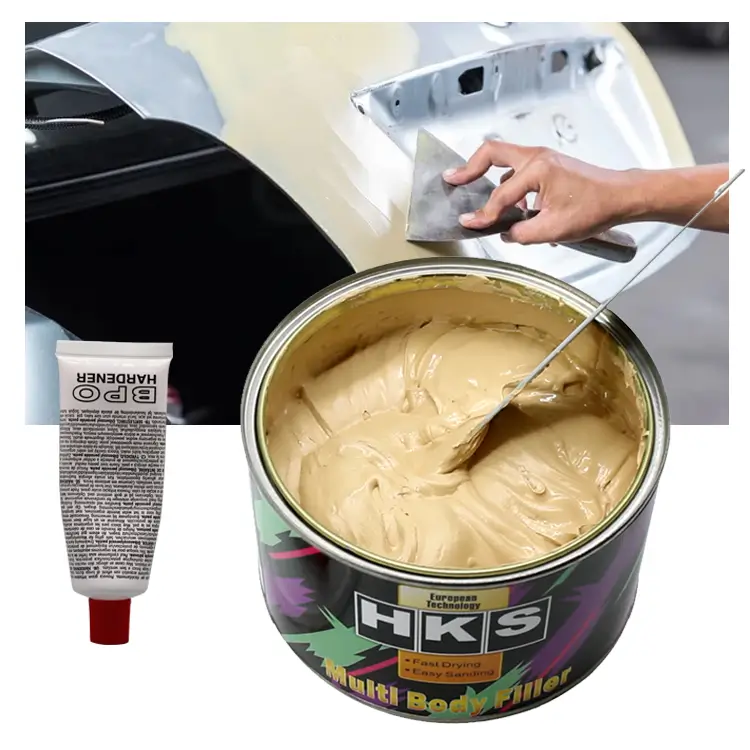
1.Squeeze out the desired amount of Bondo onto a clean mixing surface.
2.Add the appropriate amount of hardener according to the instructions on the packaging.
3.Thoroughly mix the Bondo and hardener together until you achieve a uniform color and consistency.
Applying Bondo
With the Bondo mixed and ready to go, follow these steps to apply it to the damaged area:
1.Use a putty knife or applicator to spread the Bondo evenly over the damaged area, ensuring complete coverage.
2.Feather the edges of the Bondo outward to blend it seamlessly with the surrounding surface.
3.Allow the Bondo to cure according to the manufacturer's instructions. 4.This typically takes around 30 minutes to an hour, depending on the temperature and humidity.
Sanding and Shaping
Once the Bondo has cured, it's time to sand and shape it to achieve the desired finish:
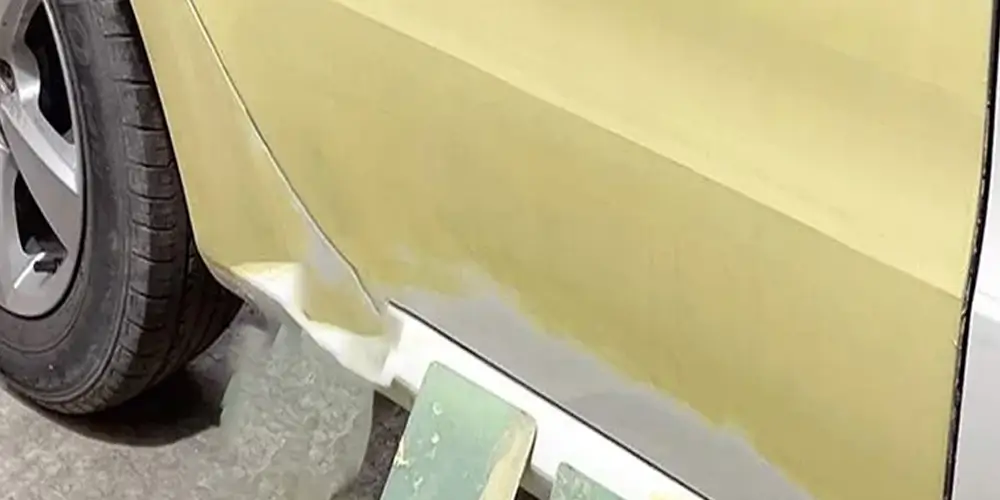
1.Use coarse-grit sandpaper to initially sand down the Bondo, removing any excess and shaping it to match the contours of the car.
2.Gradually switch to finer-grit sandpaper to smooth out the surface and blend the repaired area with the rest of the car's body.
3.Wipe down the sanded area with a clean cloth to remove any dust and debris.
Priming and Painting
With the repair complete, it's time to prime and paint the surface to restore its original appearance:
1.Apply a coat of automotive primer to the repaired area, following the manufacturer's instructions.
2.Allow the primer to dry completely before sanding it lightly with fine-grit sandpaper to ensure a smooth finish.
3.Apply automotive paint to the primed area, matching the color of the surrounding paint as closely as possible.
4.Allow the paint to dry completely before applying a clear coat for added protection and shine.
Conclusion
Congratulations! You've successfully learned how to use Bondo to repair and restore your car's appearance. By following the steps outlined in this guide and using high-quality Bondo products like SYBON, you can achieve professional results and prolong the life of your vehicle. Remember to always prioritize safety and precision when working with automotive repair materials.
Source of this article:https://www.supersybon.com
Get to know us through more channels:

